Rainwater Collection System: Complete Guide to Garden Water Harvesting
Zbiornik na wodę deszczową w ogrodzie pozwala gromadzić opady z dachu i wykorzystywać je do podlewania, jednak jego skuteczność zależy od regularności deszczu i właściwego montażu. To rozwiązanie dla inwestorów planujących retencję wody i ograniczenie zużycia wody z sieci.
TL;DR
- Zbiornik na deszczówkę gromadzi wodę z rynien, magazynuje ją pod ziemią i zasila system nawadniania przy pomocy pompy.
- Najlepiej planować montaż na etapie budowy domu lub przed wykonaniem ogrodu, aby uniknąć ponownego rozkopywania terenu.
- Opłacalność zależy od wielkości działki, ilości opadów oraz możliwości uzupełniania wody ze studni lub sieci.
- Montaż obejmuje wykop, osadzenie zbiornika, wykonanie spadków rur, przelew awaryjny oraz instalację pompy i zasilania.
- Koszt betonowego zbiornika 10 m³ z montażem wynosi orientacyjnie 11 000–14 000 zł, w zależności od warunków gruntowych i zakresu prac.
Published
30 October 2026
Share this article


 Copied
TOC
- What is a Rainwater Collection System?
- How Does a Rainwater Collection System Work?
- Who Should Consider a Rainwater Collection System?
- Rainwater Collection System Installation – How to Proceed?
- Step 1: Checking Formal Requirements
- Step 2: Determining Tank Installation Location
- Step 3: Creating Tank Excavation
- Step 4: Tank Placement in Excavation
- Step 5: Backfilling Tank While Simultaneously Filling with Water
- Step 6: Layout and Excavation for Water Supply Pipes
- Step 7: Electrical and Water Installation Supply
- Step 8: Emergency Overflow Installation
- Step 9: Pipe Backfilling and Excavation Compaction
- Step 10: Pump and Irrigation System Installation
- Summary
- Investment Considerations for 10 m³ (2,640 gallon) Concrete Tank Installation
- Maximize Your Garden's Water Independence with Professional Design
- What When Rain is Scarce?
- FAQ
What is a Rainwater Collection System?
A rainwater collection system is a popular solution for modern gardens. These systems have gained significant popularity due to government rebate programs for water retention sources. However, a rainwater collection tank isn't the optimal solution for every type of garden. Professional garden irrigation systems often integrate rainwater harvesting with other water-efficient technologies. From this comprehensive guide, you'll learn:
- How does a rainwater harvesting system work?
- Who should consider a rainwater collection system?
- How to install a garden water tank step by step?
- What does rainwater collection system installation cost?
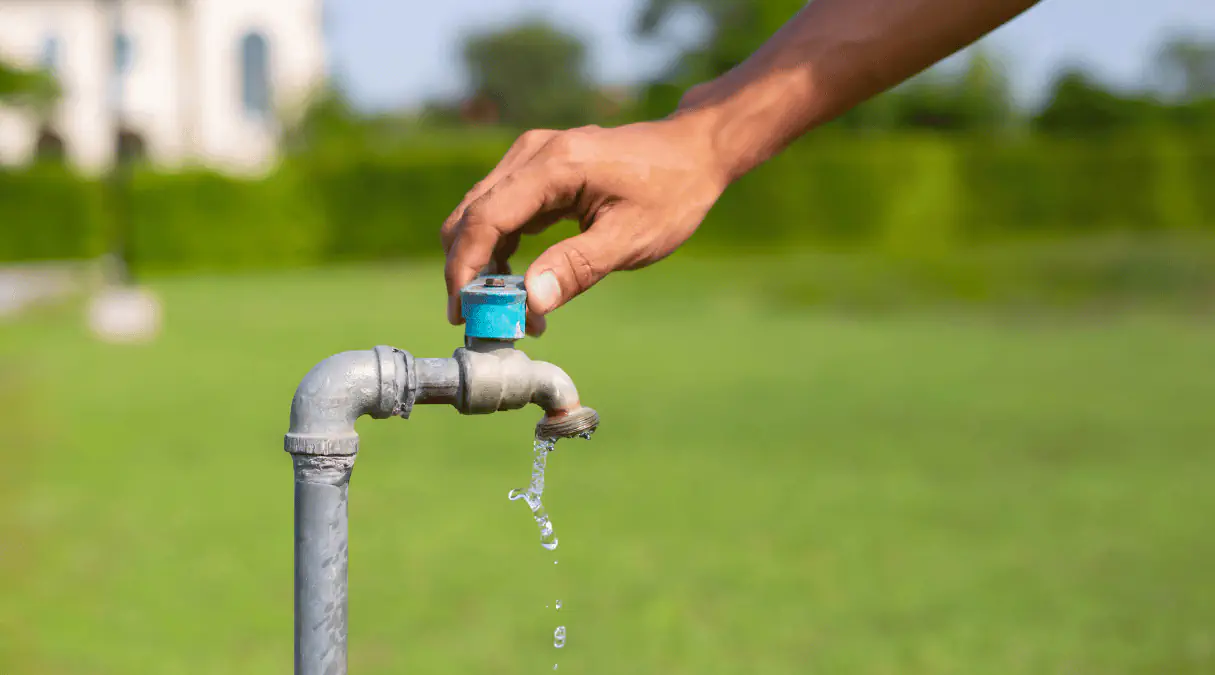
How Does a Rainwater Collection System Work?
A rainwater collection tank is functional only when it has access to water, making proper rainwater harvesting planning crucial. The simplest method involves collecting water from roof surfaces. Here's how a rainwater collection system operates:
- During rainfall, water accumulates on roof surfaces. Water flows into gutters and is collected through down spouts.
- Through underground drainage pipes, water reaches the storage tank. A pump installed in the tank enables use of collected rainwater.
- When there's excess water, it overflows into a soak away drainage system.
- The tank features an automatic top-up system from the mains water supply, which activates during dry periods to ensure continuous water access for garden irrigation. For optimal water management, consider integrating with well water irrigation systems for year-round reliability.

Work related to rainwater storage tank installation is best planned and scheduled during house construction or before garden implementation. This way we avoid excavating the entire garden when it's already completed. Coordinating with landscape design services ensures optimal tank placement and system integration.
Who Should Consider a Rainwater Collection System?
A rainwater collection system allows you to collect precipitation and use it for garden watering. However, its effectiveness depends on rainfall regularity – it works best when rain occurs systematically. In many regions, part of the rainy season brings water surplus, while during drought periods rainfall is irregular or doesn't occur at all.

- Unfortunately, a rainwater collection tank isn't a well – its operation depends on precipitation. Therefore, it's worth planning the possibility of water top-up from other sources, such as deep wells or mains water supply. Use our water usage calculator to determine your garden's actual water requirements.
- Large Properties – The best solution in this case is a deep well, which despite high initial costs, quickly pays for itself while ensuring constant water access. If you're wondering whether a deep well is profitable, we encourage using our landscape pricing calculator to evaluate different water source options.
- Small Gardens – Tank installation may be unprofitable because a full tank usually lasts for 2–3 watering cycles, after which it becomes necessary to use municipal water.
- Optimal Solution – Combining a rainwater collection system with a deep or shallow well. Even a low-yield well that wouldn't be sufficient for direct irrigation can systematically refill the tank, ensuring a constant water supply.
- A rainwater collection system also works well when mains water has unstable parameters or pressure is too low. In such cases, the tank serves as a buffer, ensuring constant access to water with appropriate characteristics. This makes the irrigation system work efficiently, regardless of external conditions.
The final choice of solution should consider property size, water source availability, and rainfall frequency to ensure the most efficient and economical garden watering. When planning modern garden design, integrate water conservation from the beginning. Calculate your garden watering costs using our calculator – this will help you make informed decisions about potential returns on tank or deep well investments.
Rainwater Collection System Installation – How to Proceed?
Step 1: Checking Formal Requirements
Regulations regarding construction and installation change dynamically, so the best solution is contacting your local authority (county office or city hall) to find out whether in your case building permits, investment notifications, or no formalities are required.

For rainwater collection tank installation, regulations may differ depending on its capacity and local regulations. To avoid misunderstandings and potential problems, it's worth obtaining official information from officials before starting the investment.
Step 2: Determining Tank Installation Location
Proper tank positioning on the property significantly affects its functionality and usage safety. During planning, several key factors should be considered.
- First, ensure convenient access for heavy equipment that will install the tank. For concrete tanks, transport and installation require reinforced crane trucks or heavy wheeled excavators. Standard excavator-loaders may not be sufficient to lift a multi-ton tank, so the installation site should allow free access for appropriate equipment.
- Soil type also plays an important role. If the substrate is sandy and prone to collapsing, it may be necessary to create a wider excavation to enable safe tank installation. In this case, maintain appropriate distance from fencing and other property elements, as sliding soil could damage them. For clay soil that's compact and cohesive, excavation can be more fitted to tank dimensions. However, remember that clay substrate can retain water, increasing the risk of accumulation at the excavation bottom. Therefore, check groundwater levels on your property before starting work.
- Additionally, plan space for storing soil extracted from excavation. Tank installation requires removing over 10 m³ (350 cubic feet) of soil, meaning temporary storage or removal is necessary. It's important not to remove too much soil, as some may be needed for tank backfilling, which would involve additional costs.
- During planning, also consider excavation depth and slope of pipes carrying rainwater to the tank. To enable free gravitational drainage, ensure a slope of 1–2 cm per linear meter of pipe (0.4–0.8 inches per 3.3 feet). This allows water to be efficiently transported to the tank without requiring additional pumps. For comprehensive guidance on water system design, explore our irrigation system design principles.
The example below shows how to position the tank on the property so its access hatch is located in a garden bed and remains invisible, harmoniously integrated into surroundings through vegetation. This avoids visible covers on lawns, paving, and pathways.
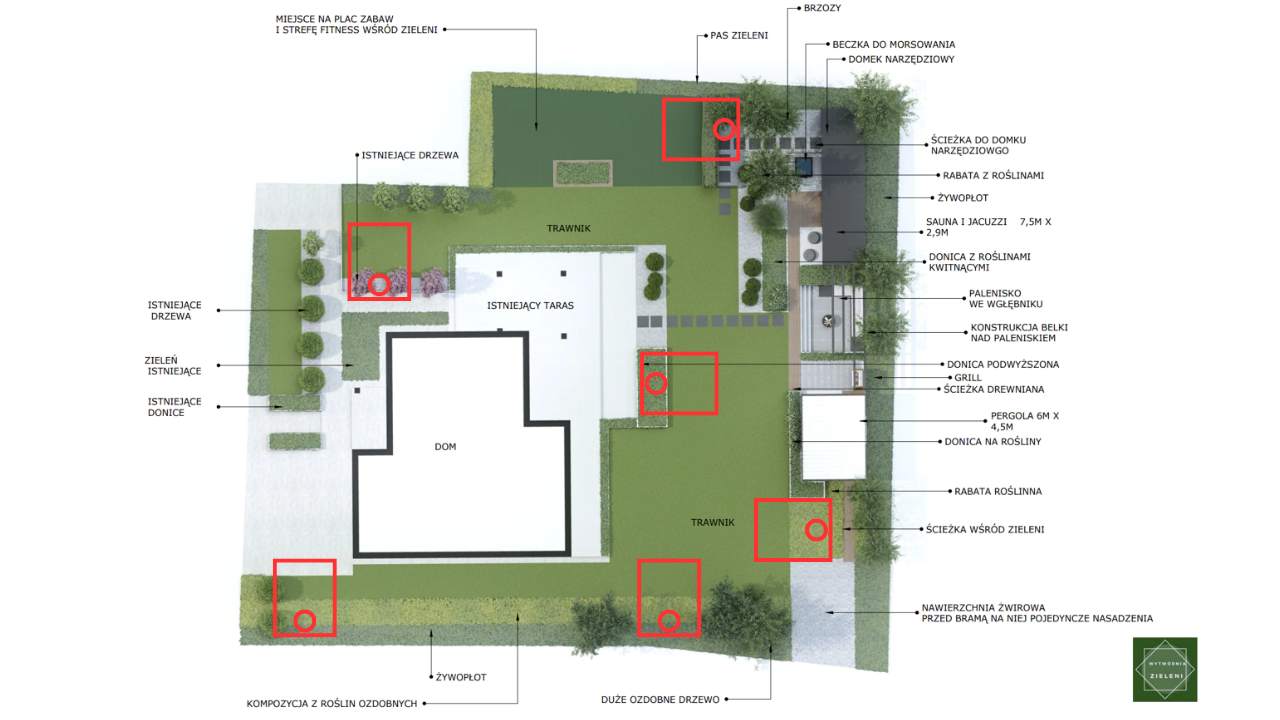
Example tank installation depth calculation – tank distance 70 meters (230 feet):
- Access hatch height to tank – approximately 5 cm (2 inches)
- Concrete collar height – 70m x 2cm/m = 140 cm (230 ft x 0.8 in/ft = 55 inches)
- Tank height – range 160-185 cm (63-73 inches) depending on selected model
- Layer thickness under tank (sand or concrete) – 10-20 cm (4-8 inches)
- Total: 315-350 cm (10.3-11.5 feet) depending on foundation thickness and tank height
Step 3: Creating Tank Excavation
Earthwork is a crucial installation stage. Excavation should be adapted to tank dimensions according to manufacturer recommendations:
- Excavation should be executed as precisely as possible, with properly leveled bottom. If stones are present in soil, prepare a leveling sand layer to ensure stable and even tank support. This avoids irregularities that could affect settling and structural durability. For accurate soil volume calculations, use our soil calculator to plan excavation requirements.
- Excavation should be made to appropriate depth, according to the previously calculated example. If the furthest gutter is 70 m (230 feet) from the tank, consider a 2 cm slope per meter (0.8 inches per 3.3 feet), meaning the tank bottom should be 140 cm (55 inches) lower than gutter level.
- To avoid problems achieving proper pipe slopes, add an additional 20 cm (8 inches) margin when creating excavation. This way, after tank installation, depth correction won't be necessary, which could involve significant difficulties and additional costs.
- Remember that entering deep excavations is extremely dangerous. In case of soil collapse, serious injuries, disability, or even death can occur. Therefore, all work should be performed following safety rules, and when possible, should be carried out using excavators or excavator-loaders with maximum reach and appropriate dimensions.
- Avoid situations where undersized equipment creates overly wide and deep excavations, which not only increases collapse risk but also complicates further installation work. Properly selected excavators allow precise excavation while minimizing risk and need for additional corrections.
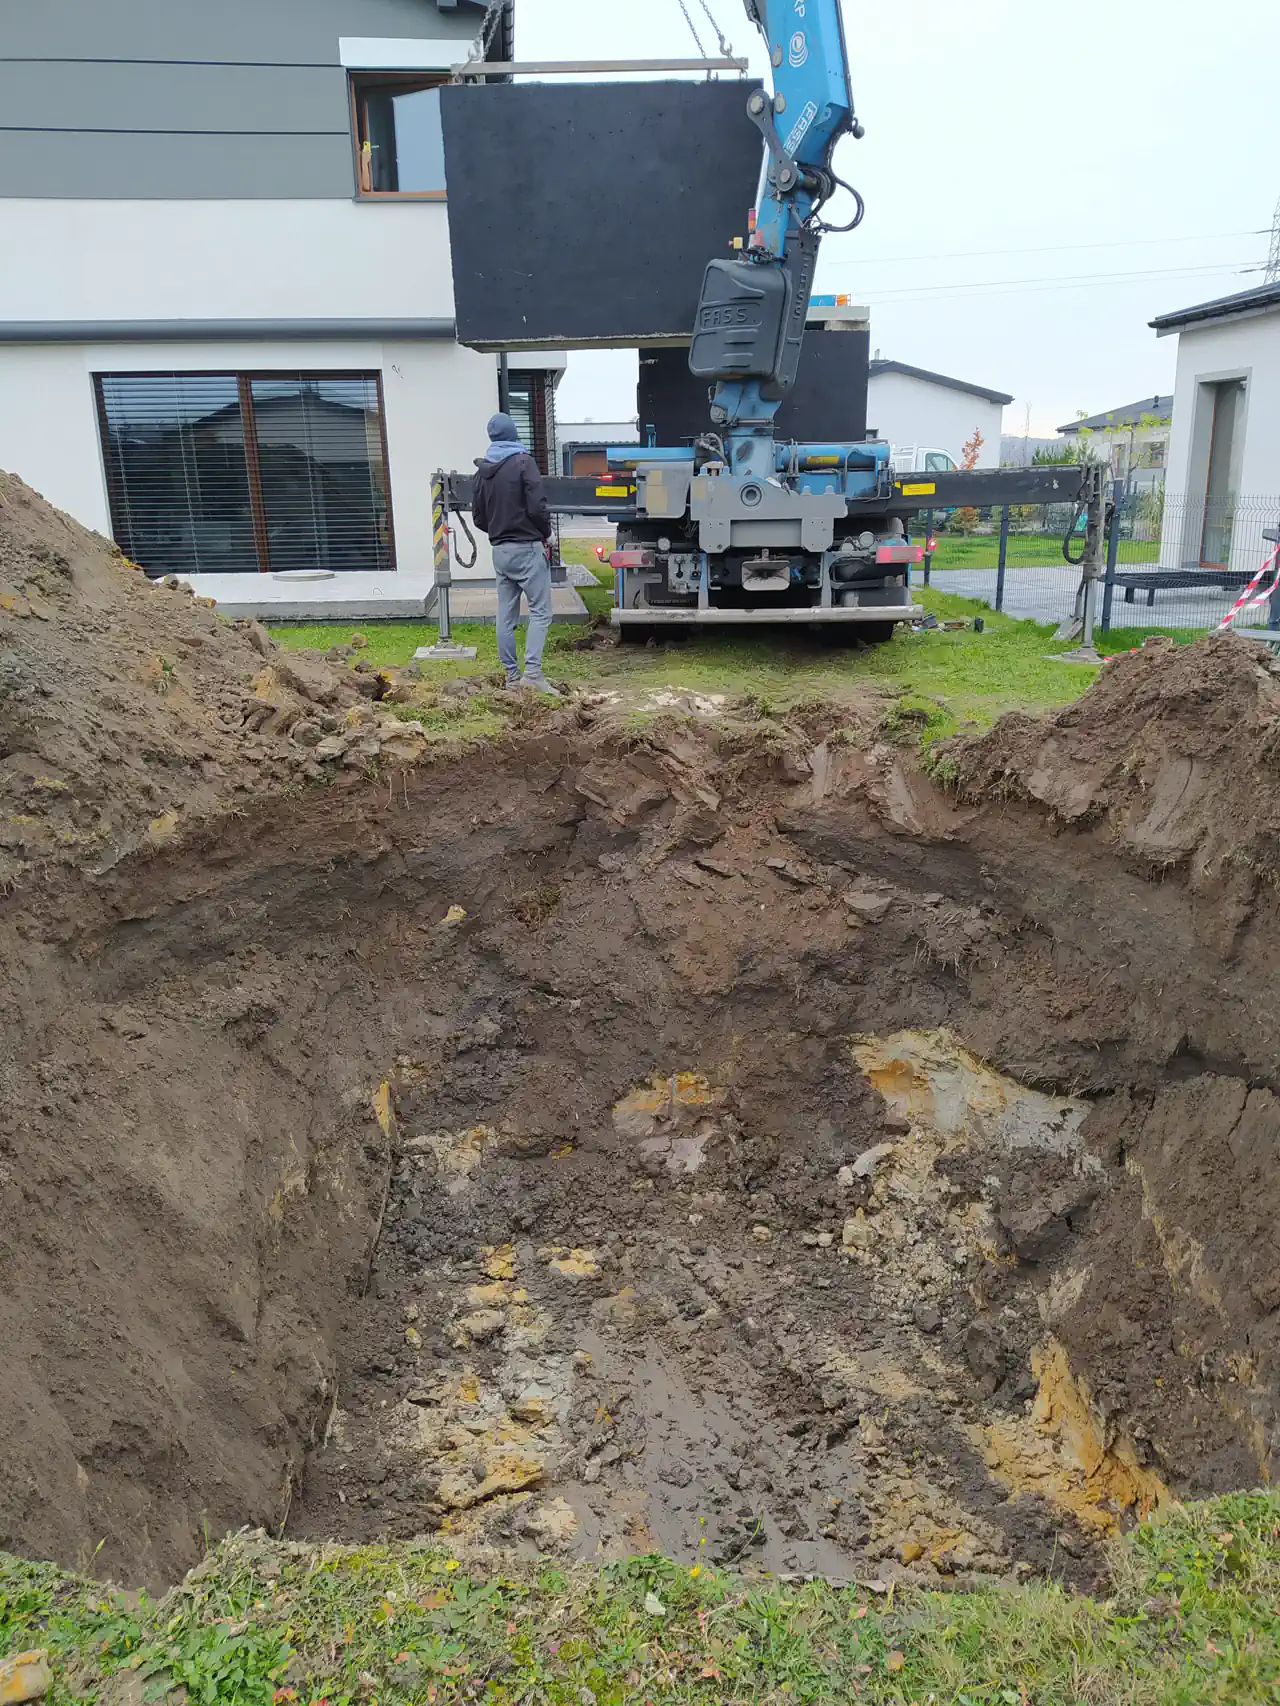
Step 4: Tank Placement in Excavation
After properly prepared excavation, tank installation becomes just a formality. However, to ensure the entire process proceeds smoothly without complications, several important issues should be addressed.
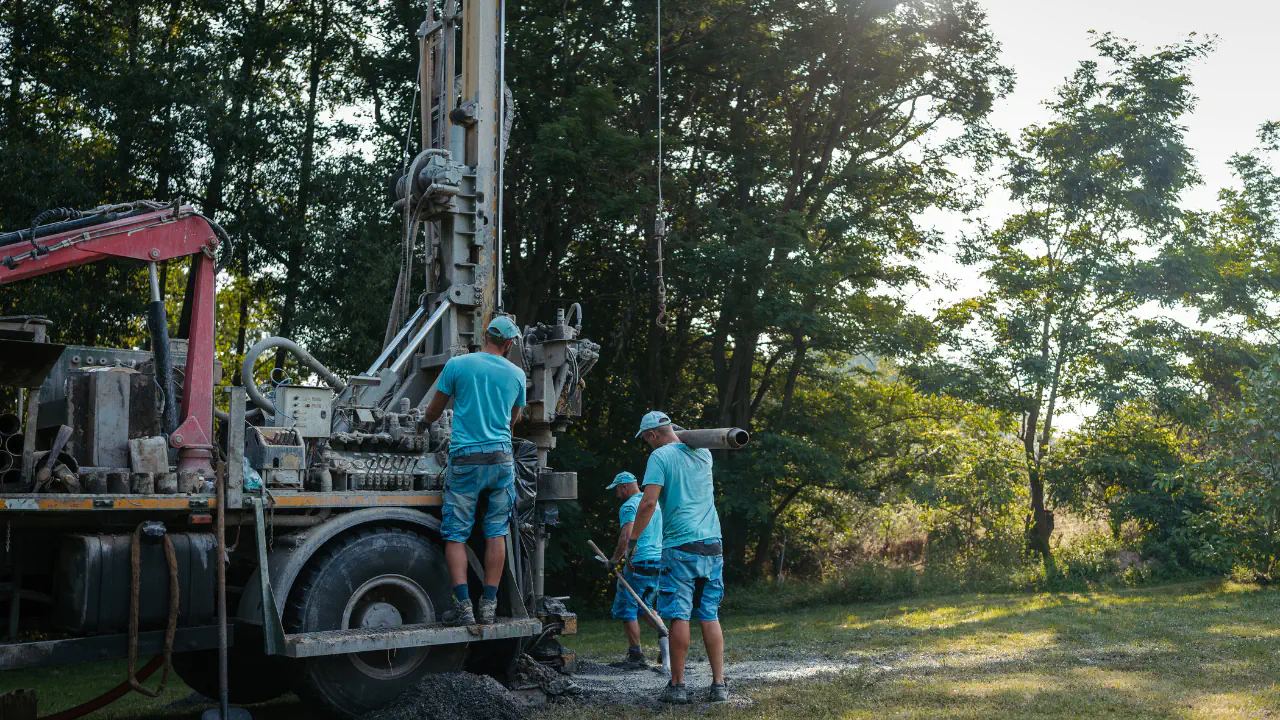
- Ordered tanks are usually delivered on-site using trucks with HDS cranes. It's crucial that vehicles can approach directly to excavation edge, allowing precise tank placement without additional difficulties.
- However, if terrain is uneven or unstable and trucks cannot approach close enough, hiring a large wheeled excavator may be necessary. Only appropriately powerful equipment can lift a multi-ton tank and safely position it in excavation.
- After lowering the tank into excavation, ensure it's stably positioned and leveled. Improper placement can cause problems with later pipe connections and tank usage. Minor adjustments can be made if needed before proceeding with further installation work.
- After positioning the tank in excavation, install the tank cover and, if required, inspection chimney. These elements provide access to tank interior for maintenance and condition monitoring. After completing installation, proceed with excavation backfilling, ensuring even soil distribution around the tank.
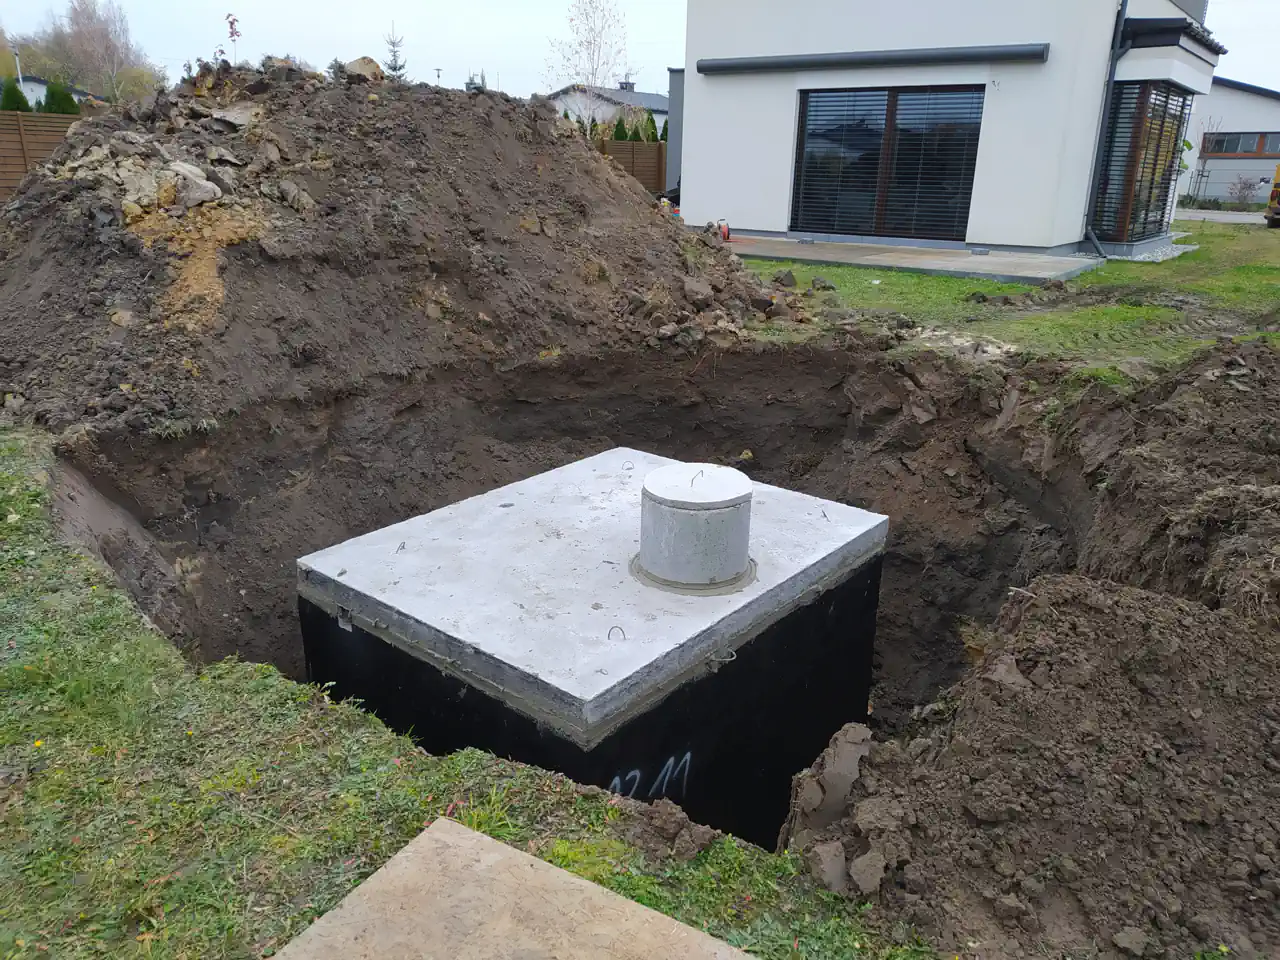
Step 5: Backfilling Tank While Simultaneously Filling with Water
To avoid tank deformation under soil pressure, backfilling should be performed in stages:
- Gradual tank filling with water – balances pressure and prevents deformations
- Backfilling space around tank with sand or permeable soil, facilitating stabilization
- Systematic soil watering – prevents void formation and improves compaction
- Area compaction around tank – best performed using vibratory compactors or manual tools to avoid later soil settling

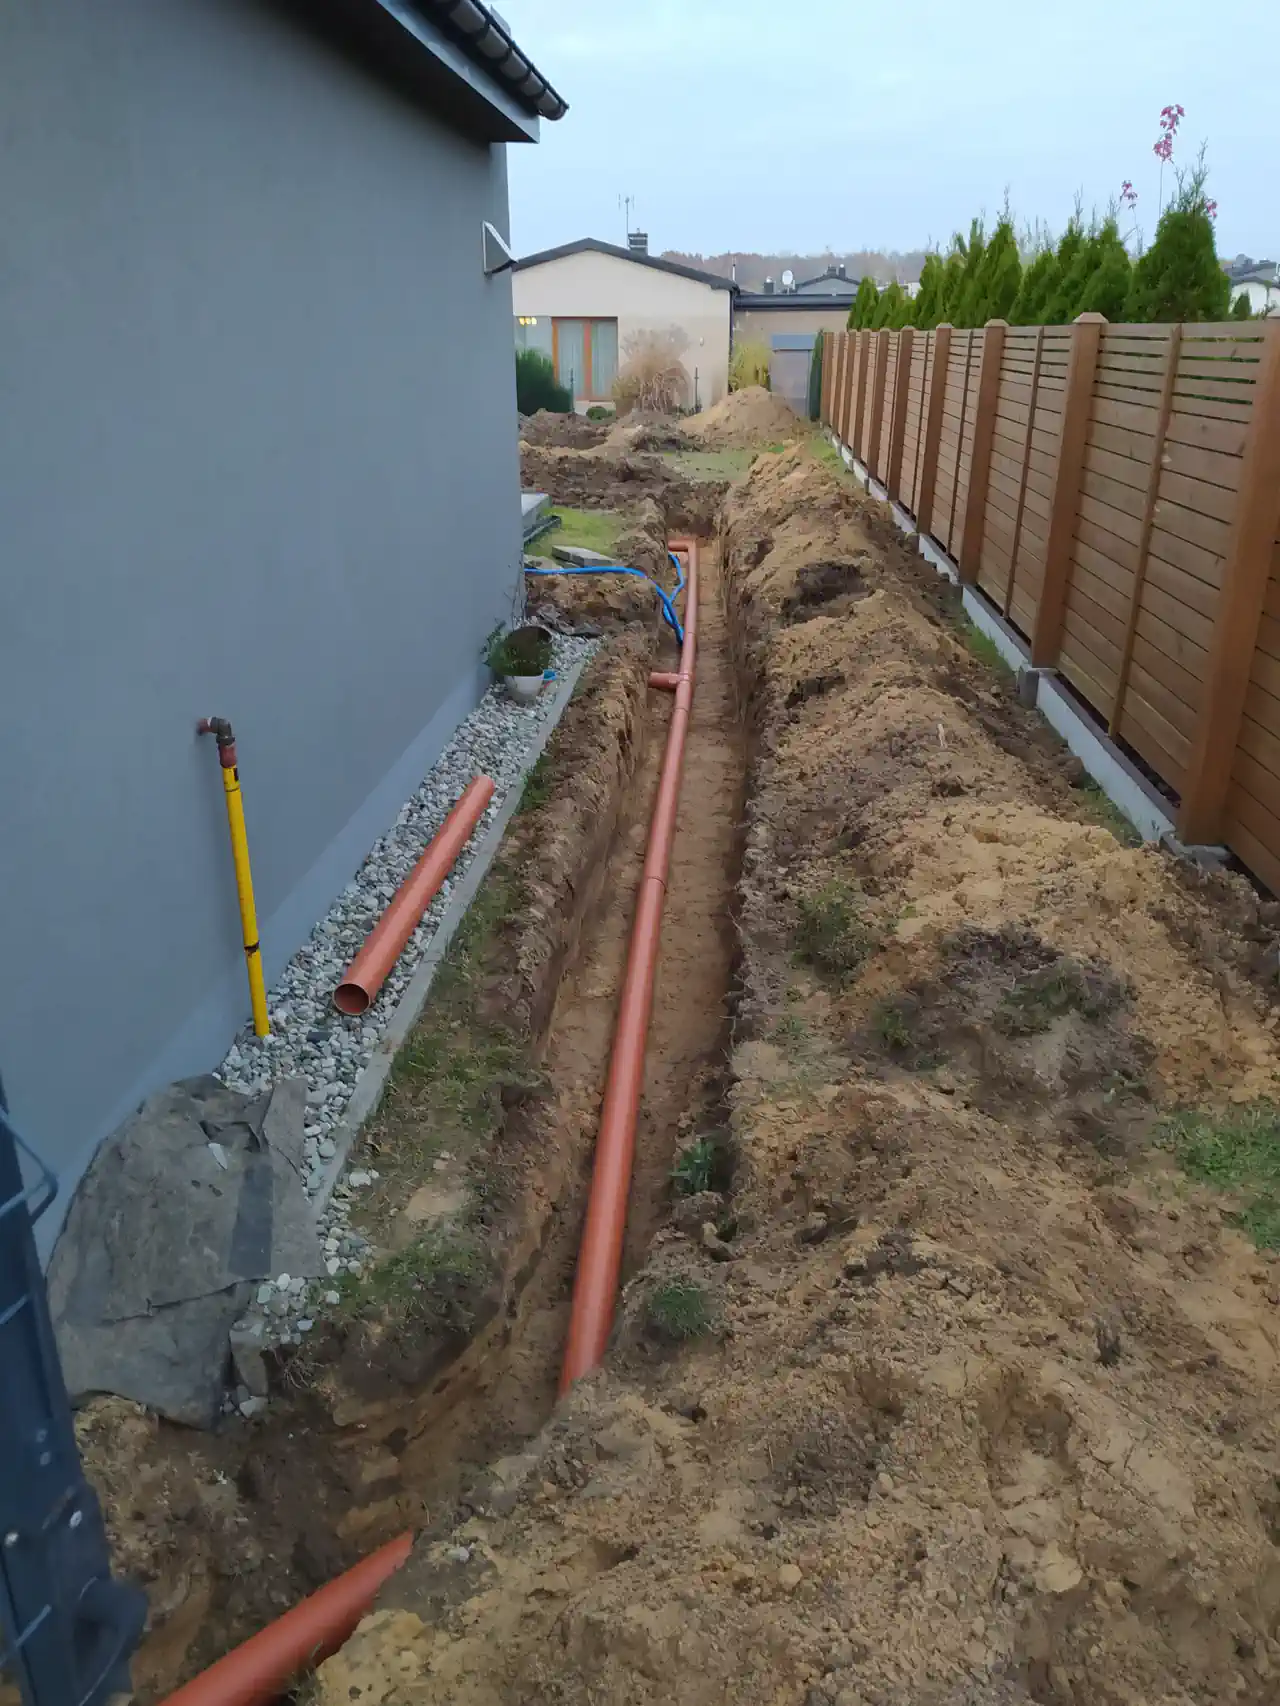
Step 6: Layout and Excavation for Water Supply Pipes
For rainwater to efficiently reach the tank, proper pipe routing is necessary:
- Creating excavations with appropriate depth and slope to ensure free water flow
- Connecting inlet pipes with gutter system, enabling efficient rainwater supply
- Installing inspection manholes – allows easy maintenance and system flow control
Gutter connection and pipe installation showing proper routing for efficient rainwater collection from roof systems
Step 7: Electrical and Water Installation Supply
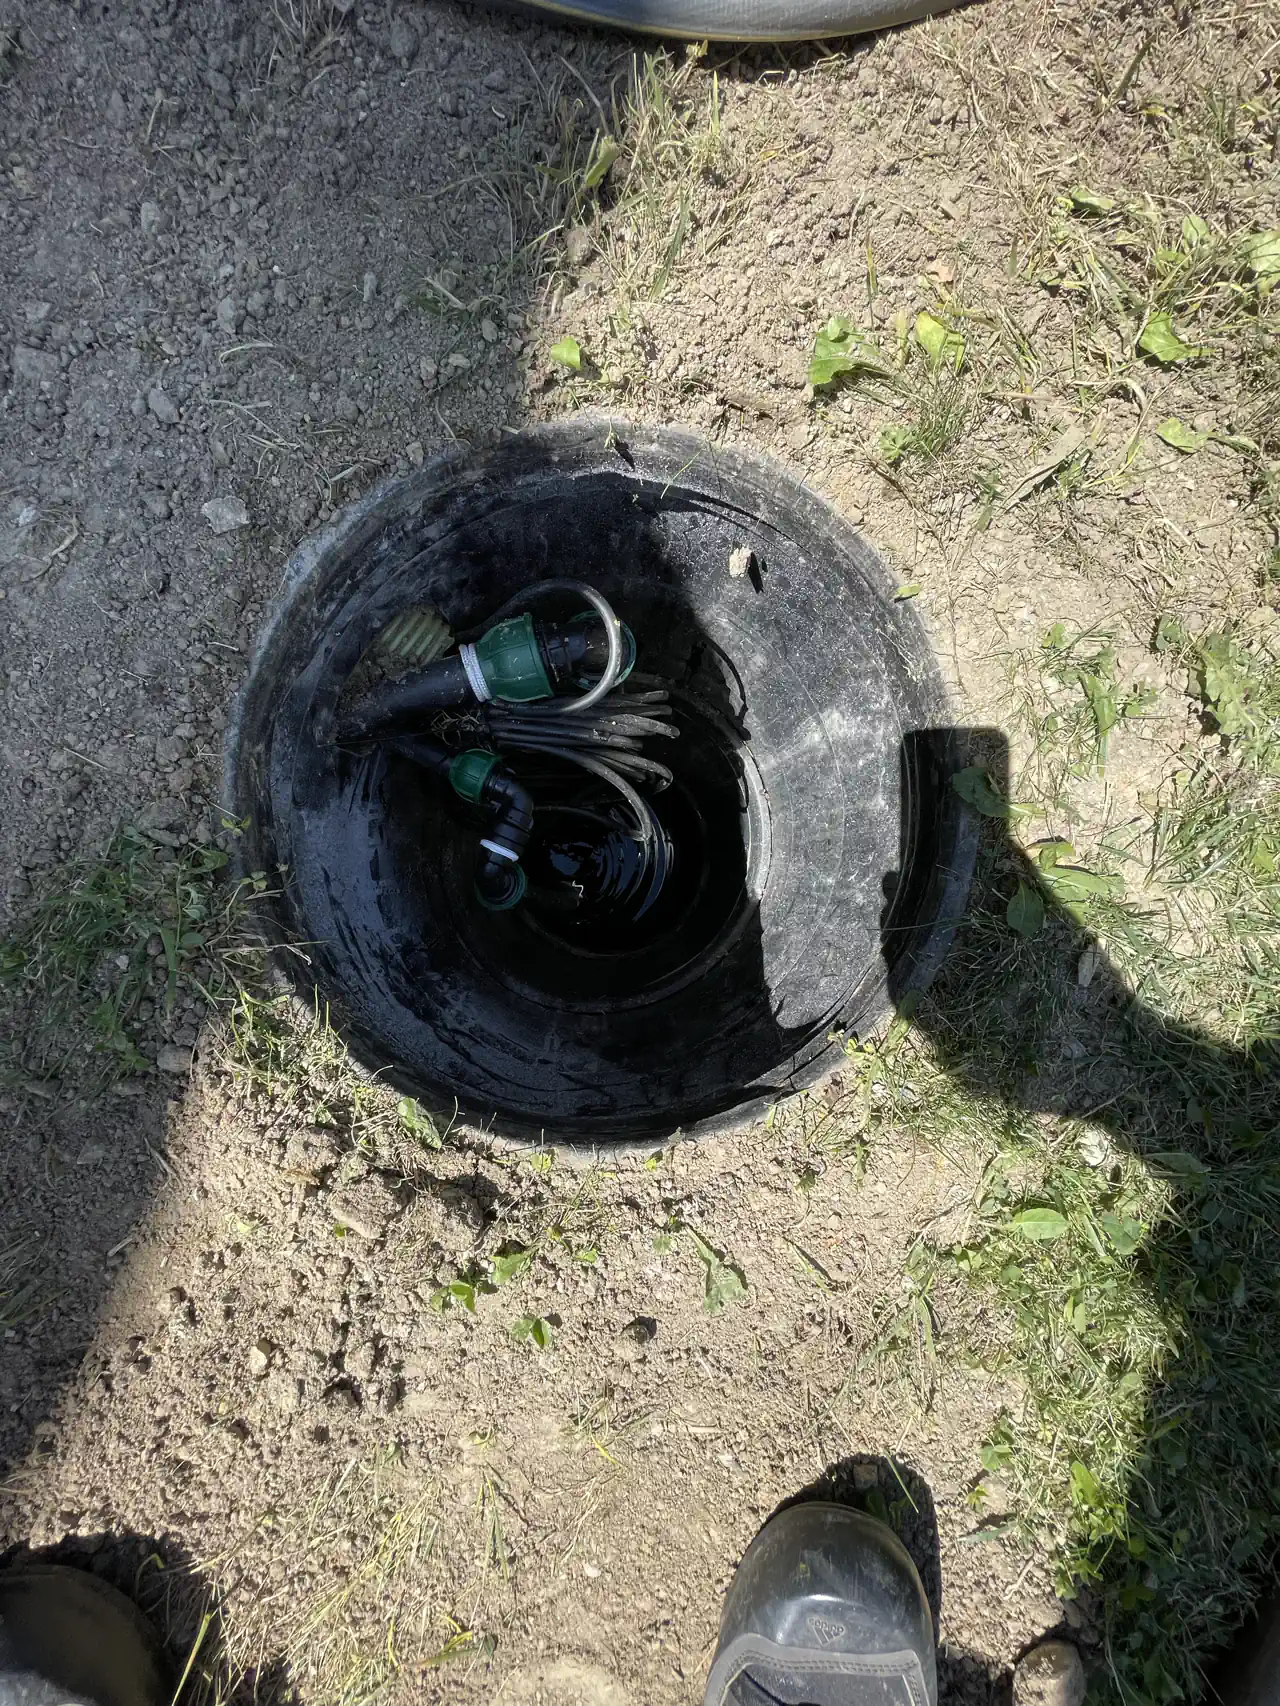
If the tank will be used for garden watering with a pump, appropriate utility preparation is necessary. Consider integrating with automatic sprinkler system controllers for comprehensive irrigation automation:
- Supplying electrical cable for pump power, preferably in protective conduit
- Installing tank refill pipe – may be useful during drought periods when water top-up from mains or wells is necessary
- Supplying pipe for pump connection with irrigation system
Step 8: Emergency Overflow Installation
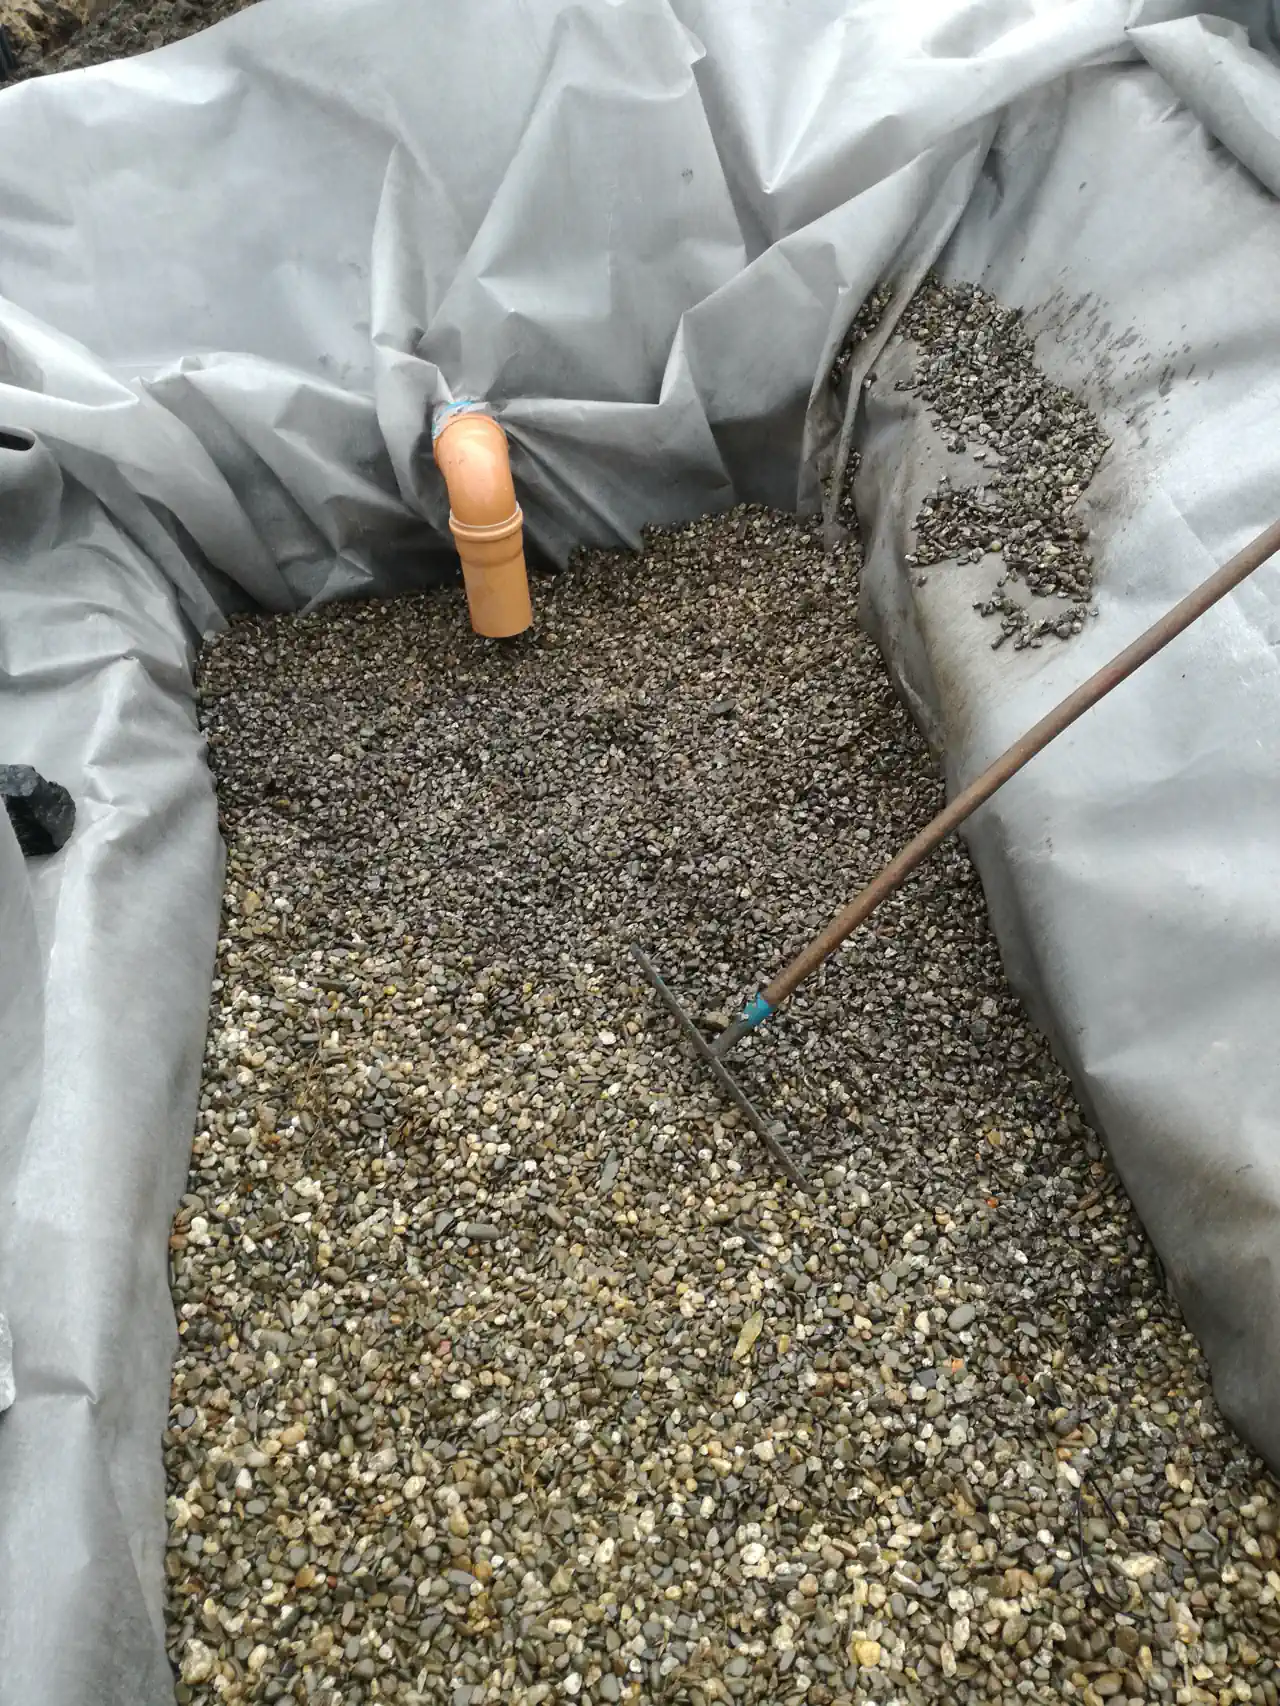
To prevent tank overflow, plan a system for excess water removal. Proper irrigation water supply management includes overflow planning:
- Connecting overflow to drainage, soakaway, or infiltration system, avoiding property flooding
- Using infiltration boxes or tunnels for larger water volumes
- Well-designed overflow ensures safety and usage comfort, removing excess rainwater without flood risk
Step 9: Pipe Backfilling and Excavation Compaction
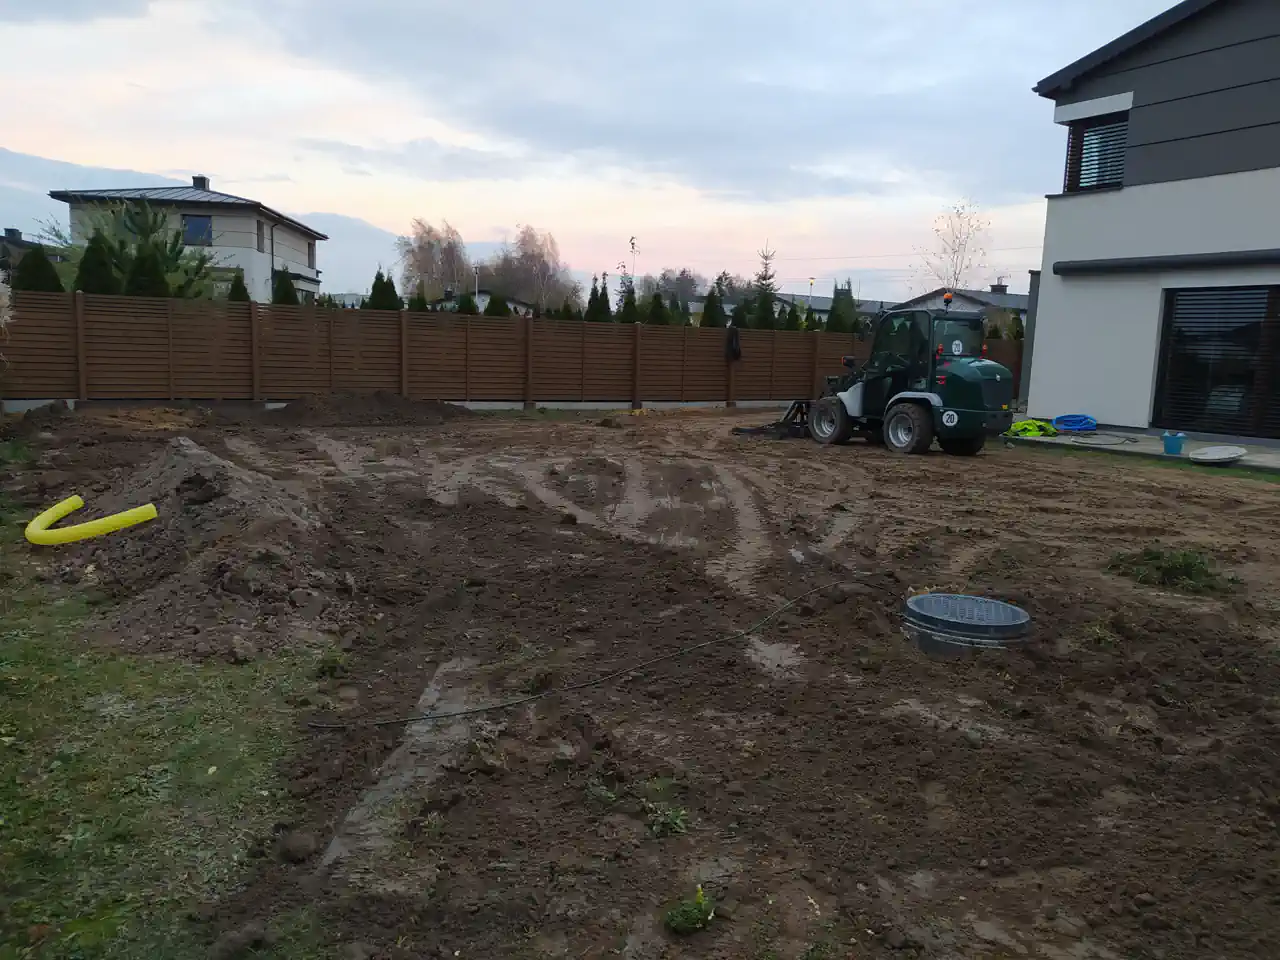
After completing pipe installation, all excavations should be properly backfilled and compacted to:
- Prevent soil collapse around pipes and tank
- Protect installation from displacement due to rainfall or soil movement
Step 10: Pump and Irrigation System Installation
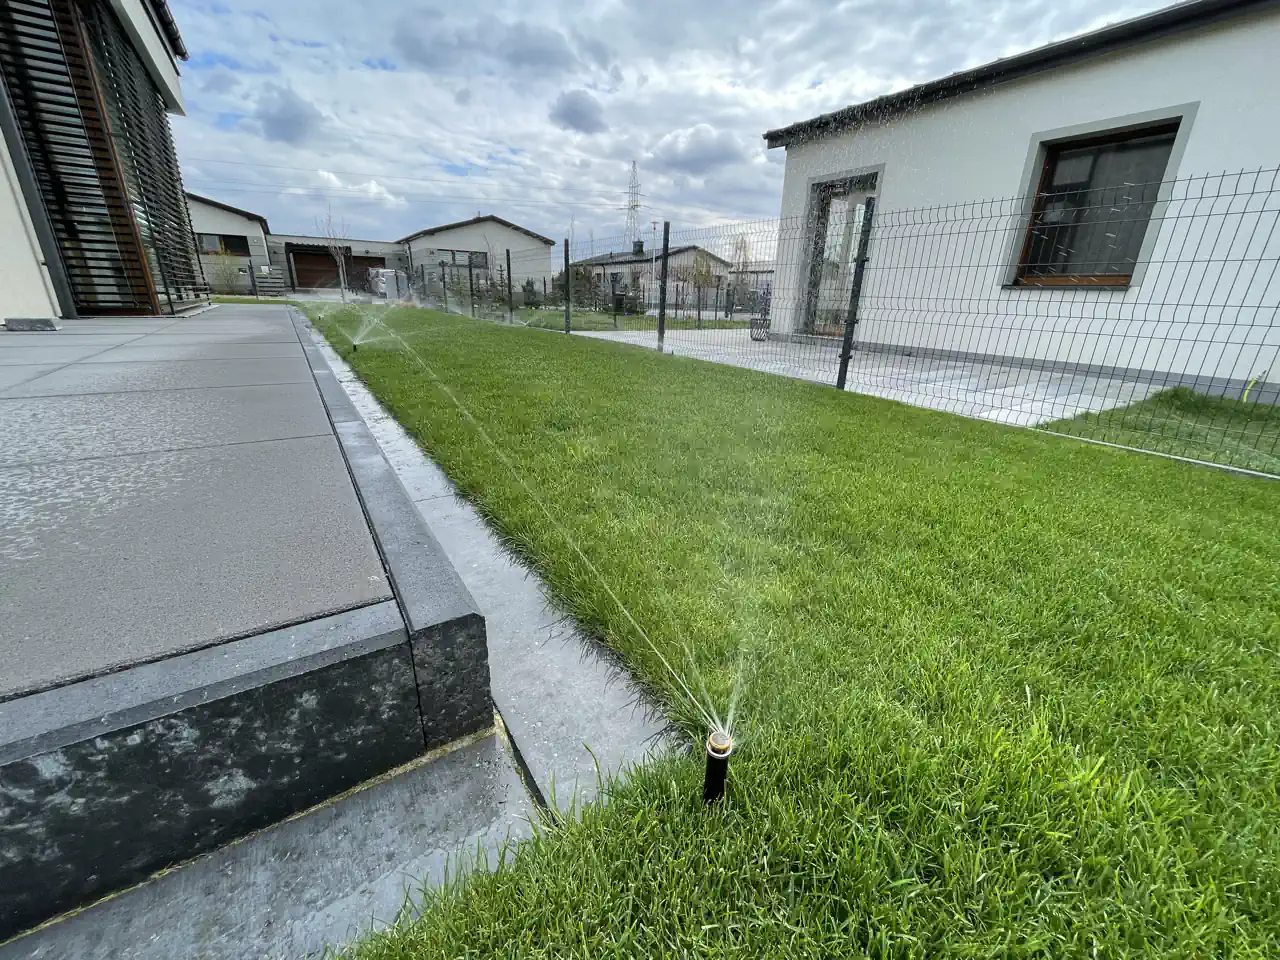
After completing earthwork, proceed with water extraction system installation. For gardens requiring precise water delivery, consider integrating drip irrigation system components:
- Installing submersible or pressure pump, depending on requirements
- Connecting tank to water extraction points, such as garden taps or drip irrigation systems
- Leak testing and checking entire system operation to ensure installation works efficiently
Summary
Proper execution of each above stage ensures durability and functionality of the rainwater storage system. A well-designed tank connected to gutters, with appropriate overflow system and pump, is an efficient and ecological solution that allows effective rainwater use in gardens. For comprehensive water management planning, work with a professional landscape architecture company to integrate all water systems seamlessly.
Investment Considerations for 10 m³ (2,640 gallon) Concrete Tank Installation
Installing a concrete rainwater collection tank with 10 m³ (2,640 gallon) capacity represents a significant investment whose scope depends on various factors including delivery logistics, earthwork complexity, and installation requirements. Understanding these components helps in proper project planning and budgeting.
- Tank and Delivery Considerations A quality concrete tank with 2,640 gallon capacity requires careful selection based on structural integrity and local availability. Professional suppliers typically include delivery services, though confirming transportation arrangements and site accessibility requirements is essential for smooth installation.
- Installation Scope and Complexity Professional installation encompasses comprehensive earthwork including excavation, substrate preparation, precise tank positioning, complete pipe connections, and proper backfilling. The complexity of these operations varies significantly based on soil conditions, site accessibility, existing utilities, and local building requirements.
- Investment Value Assessment The total investment in a complete rainwater collection system should be evaluated against long-term water savings, environmental benefits, and increased property value. Professional installation ensures system longevity and optimal performance, making it a worthwhile consideration for sustainable water management.
- Planning Considerations Successful project execution depends on thorough site assessment, proper contractor selection, and comprehensive planning that accounts for soil conditions, drainage requirements, and integration with existing landscape features.
Professional consultation during planning phases helps avoid unexpected complications and ensures the system meets both current needs and future expansion possibilities. For optimal results, consider working with experienced landscape garden design professionals. Quality installation performed by experienced contractors provides decades of reliable service and substantial water conservation benefits.
Maximize Your Garden's Water Independence with Professional Design
Installing a rainwater collection system transforms your garden into a sustainable oasis while dramatically reducing water costs. With proper planning and professional installation, you'll achieve water independence and environmental benefits that last for decades. Ready to harness nature's free water supply? Get a professional garden design consultation and discover how expert planning can bring your water-saving vision to life.
Magdalena Kazimierowicz - co-owner of Wytwórnia Zieleni
What When Rain is Scarce?
Such solutions allow independence from weather conditions, which can be crucial during drought periods.
FAQ
How much rainwater can I collect from my roof?
For every inch of rainfall, you can collect approximately 0.6 gallons per square foot of roof area. A 1,000 sq ft (93 m²) roof can harvest about 600 gallons (2,270 liters) from one inch (25mm) of rain, making rainwater collection highly effective for garden irrigation.
What size rainwater collection tank do I need?
Tank size depends on your roof area, local rainfall patterns, and water usage. Generally, a 1,000-2,000 gallon (3,800-7,600 liter) tank works well for most residential properties, providing 2-3 weeks of garden watering during dry periods.
Is rainwater safe for vegetable gardens?
Yes, collected rainwater is excellent for vegetable gardens and often preferred over treated municipal water. However, avoid using water from roofs with lead-based materials or in heavily polluted areas. First-flush diverters can improve water quality. For planning vegetable garden layouts that optimize rainwater use, explore our garden design guide.
How much money can I save with a rainwater harvesting system?
Homeowners typically experience significant reductions in outdoor water usage costs, with many systems paying for themselves through reduced utility bills over time. The exact savings depend on local water rates, system size, rainfall patterns, and usage habits, making each installation unique in its economic benefits.
What maintenance does a rainwater collection system require?
Regular maintenance includes cleaning gutters, checking first-flush diverters, inspecting tank covers, and annual pump servicing. Most systems require minimal maintenance, making them cost-effective long-term water solutions. For comprehensive maintenance planning, consider systems that integrate with irrigation water meter monitoring for usage tracking.

Wojciech Kazimierowicz – Author of the Article
Co-owner of Wytwórnia Zieleni and an expert in garden design and landscaping with over 13 years of experience. He specializes in creating modern, functional green spaces tailored to the budget and needs of homeowners.

Find Out How Much Your Garden Design Will Cost!
Take a quick quiz and discover the estimated cost of a custom garden design tailored to your needs. No strings attached – it takes just 2 minutes!


Wytwórnia Zieleni | Garden Design
KRS 0001107384 NIP 6452587627 REGON 528715049 St. Strzelców Bytomskich 51/1 42-600 Tarnowskie Gory, Poland
Resources
© Wytwórnia Zieleni 2026


