Sprinkler System Installation: Step-by-Step DIY Guide
System nawadniania ogrodu można zamontować samodzielnie, pod warunkiem prawidłowego zaplanowania instalacji i zachowania zasad montażowych. Przygotowanie projektu, właściwe wykopy i dokładny montaż elementów pozwalają stworzyć trwały i skuteczny system podlewania bez udziału firmy wykonawczej.
TL;DR
- Samodzielny montaż systemu nawadniania jest możliwy przy podstawowych umiejętnościach technicznych.
- Kluczowe etapy to pomiar działki, wykonanie projektu i przygotowanie wykopów.
- Prawidłowa głębokość rur i dokładne rozmieszczenie zraszaczy decydują o trwałości instalacji.
- Testowanie szczelności przed zasypaniem wykopów jest obowiązkowe.
- Dobrze zamontowany system działa bezawaryjnie przez wiele lat i oszczędza wodę oraz czas.
Published
21 May 2026
Share this article


 Copied
TOC
- Sprinkler System Installation- Can you do it yourself?
- Professional Garden Design for Optimal Irrigation Results
- Planning Your Sprinkler System Installation
- Excavation for Sprinkler System Installation
- DIY Installation of Complete Irrigation System Kit
- Automatic Sprinkler System Burial
- Finishing Work
- Drip Line Installation – Plant Drip Irrigation System
- Key Tips for Automatic Irrigation System Installation
- Transform Your Garden with Professional Installation Excellence
- FAQ
- Rain Bird vs Hunter – Which Should You Choose?
- How Much Does Watering Cost Per Square Meter?
- Mains Water, Well, or Tank – Which Solution for Your Garden?
- How Much Does Garden Irrigation Installation Cost?
- How Deep to Dig for Irrigation?
- How Much Water for 1000 m² Lawn?
- How Many Sprinklers for 500 m²?
- What Pressure to Blow Out Irrigation?
Sprinkler System Installation- Can you do it yourself?
Dreaming of a lush, healthy garden that waters itself? A sprinkler system installation is a convenient solution that enables efficient watering without the need for manual garden hose or watering can use. An irrigation installation kit is easy to install and can be customized to meet every garden's needs. Professional landscape design services often recommend DIY systems for cost-effective water management.

Garden irrigation is a simple and effective solution that makes life easier, supports plant growth, and saves both time and water. Thanks to ready-made irrigation kits, even without experience, you can automate lawn and flower bed watering in your garden. When planning comprehensive garden irrigation systems, sprinkler installation forms the backbone of efficient water distribution.
Professional Garden Design for Optimal Irrigation Results
To properly design and execute a sprinkler system that delivers maximum efficiency and coverage, it's worth investing in a comprehensive garden design. A professional design ensures your irrigation system integrates seamlessly with landscape features, plant selections, and drainage patterns.

This approach prevents costly mistakes and optimizes water distribution for long-term garden health. Get a professional garden design consultation to create the perfect foundation for your irrigation system installation.
Planning Your Sprinkler System Installation
When planning an irrigation system installation, consider garden area, available water sources, and pressure and flow capacity of your installation. Use our water pressure gauge testing guide to measure these critical parameters. Automatic systems ensure optimal plant watering and water conservation.

Step 1: Accurate Site Measurement
The first step in DIY sprinkler system installation is precise measurement of the entire garden area. Measurement includes determining water source parameters at the water supply connection point. This crucial stage allows adapting the design to actual site conditions and technical capabilities. For comprehensive planning guidance, explore our irrigation system design principles.
Step 2: Creating Your Irrigation System Design
After collecting all data, you must design your sprinkler system installation. On the garden map, we mark all system elements such as sprinklers, pipes, valve boxes, and drip lines. Component placement should follow optimal irrigation principles, ensuring even water coverage across the entire area. Consider integrating garden beds planning into your overall irrigation strategy.
Step 3: Work Plan Preparation
The final stage in the design phase is creating a work schedule, considering task sequence and required tools. Good work organization speeds up the process and minimizes error risk. Use our landscape pricing calculator to estimate material costs and project budgeting.
Excavation for Sprinkler System Installation
Properly executed excavation for your irrigation system installation forms the foundation of efficient system operation. It's important to maintain appropriate excavation depth and precise pipe and sprinkler placement to ensure system stability.

Step 1: Excavation Layout According to Design
Work begins by marking excavation lines according to the previously prepared design. For pipes and cables, plan excavations 25-30 cm (10-12 inches) deep. The main excavation containing the main line should be 30-40 cm (12-16 inches) deep, depending on pipe width used. Proper excavation planning is essential for irrigation water supply system longevity.
Step 2: Excavation Preparation
Depending on site conditions and available equipment, you can use a chain trencher, rotary excavator, or traditional shovel. Excavation depth and width must comply with the design to ensure safe pipe, cable, and sprinkler placement. Calculate soil volumes needed using our soil calculator for accurate planning.
Step 3: Excavation Widening at Key Locations
In the area where the valve box will be located, widen the main excavation for 2 meters (6.5 feet). This enables convenient installation and servicing of system control elements.
Step 4: Manual Excavation Corrections
If soil is exceptionally hard or soil collapse occurs, manual corrections will be necessary. It's important that cables are placed at appropriate depth on stable substrate, preventing future damage.
Step 5: Excavation Compliance Check
After completing all excavations, thoroughly check them for plan compliance. Ensure all excavations are correct regarding sprinkler number, location, and pipe routing.
DIY Installation of Complete Irrigation System Kit
DIY installation of a property irrigation kit is an excellent solution for people wanting to save on contractor services. Simply properly connect sprinklers, solenoid valves, and drip lines according to the design.
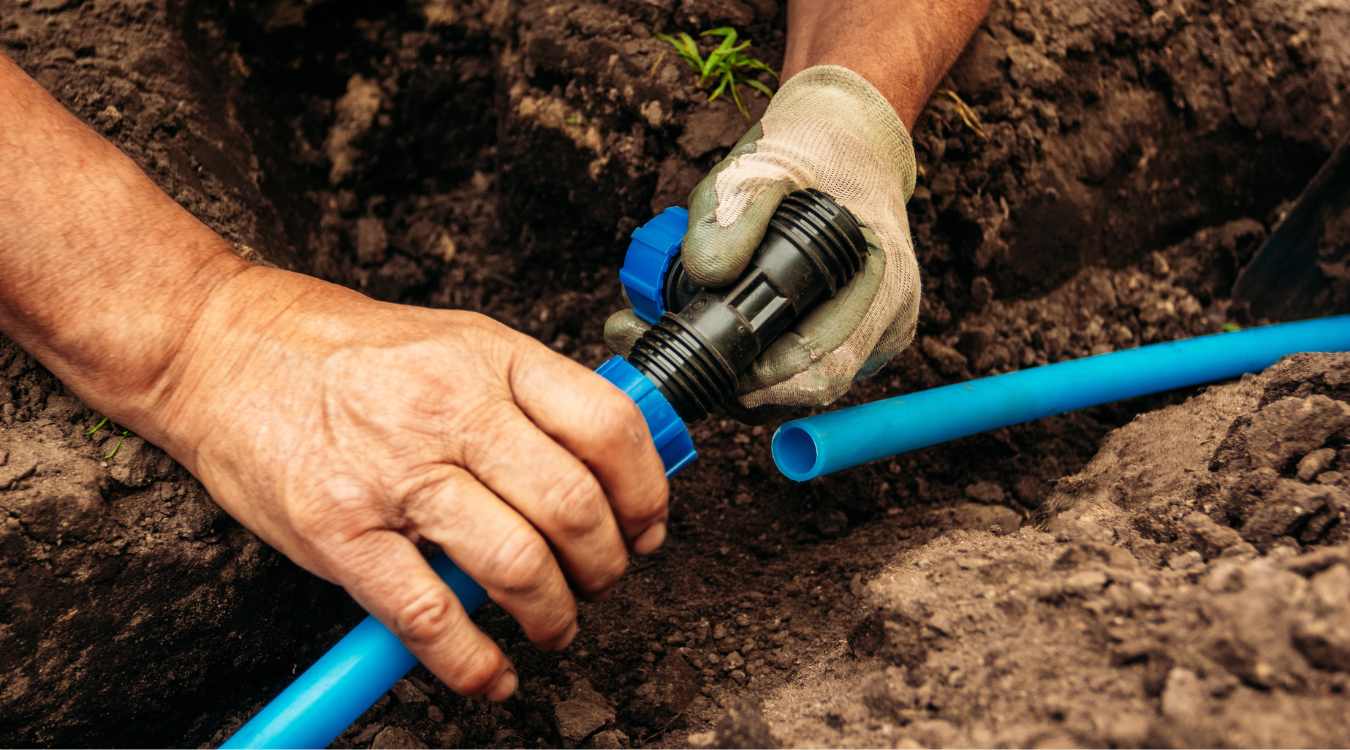
Step 1: Main Line Installation
Work begins by laying the main line for the first system section. It's best to start from the furthest sections, facilitating pipe laying and preventing unnecessary movements. Pipes are laid in excavations at depth complying with design – minimum 25 cm (10 inches) below ground surface. For systems incorporating multiple water sources, consider well water irrigation integration options.
Step 2: Tee and Fitting Installation on Pipes
On the main line, we install tees that will supply water to pipes with mounted sprinklers. Each connection should be precise and free from contamination such as sand or soil. Remember that pipes should be evenly cut and properly secured. For optimal flow distribution, follow irrigation pipe sizing guidelines.
Step 3: Lawn Irrigation Sprinkler Installation
At pipe ends, we install sprinklers according to the design. Their placement should be exactly as planned to ensure even irrigation. Check that each sprinkler is positioned vertically and located about 2-3 cm (1 inch) from bed edges, borders, or curbs. When installing near fence line landscaping, ensure adequate clearance for plant growth.
Step 4: Section Connection to Manifold and Solenoid Valves
Each irrigation section must be connected to the manifold with solenoid valves. Connect the manifold to the water source, ensuring all connections are tight. The valve box should be positioned on stable substrate, such as stone layer, and protected with foil, landscape fabric, or geotextile. For water usage monitoring, consider installing an irrigation water meter at the main supply.
Step 5: System Leak Testing
After assembling each section, check its tightness by turning on water. No water should leak from any connection, tee, elbow, or fitting at the manifold. Immediately repair any leaks to avoid future excavation necessity.
Step 6: Control Cable Installation
In excavations, place power and control (low-voltage) cables and wires from sensors such as rain sensors or soil moisture sensors. It's important that cables are well-protected and placed according to the design. Consider integrating automatic sprinkler system controllers for advanced scheduling capabilities.
Step 7: Final Inspection
At this stage's conclusion, ensure the system is complete and complies with the design. Check that all pipes, sprinklers, sections, and cables have been properly installed.
After completing component installation, we can proceed to the next stage – Irrigation System Burial.
Automatic Sprinkler System Burial
Irrigation system burial includes careful pipe and fitting protection to guarantee installation durability. Test your automatic garden irrigation system to ensure it works flawlessly.
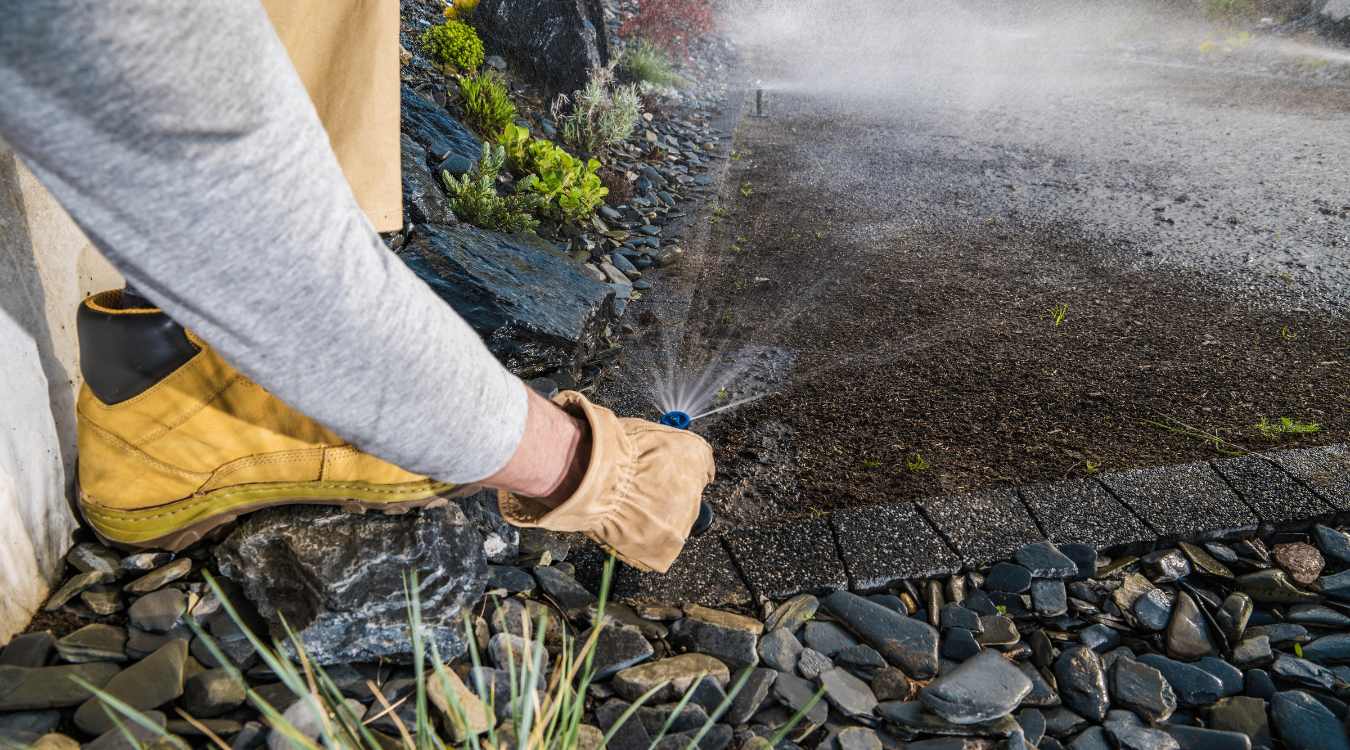
Step 1: System Operation Check
Before burying excavations, re-start the entire irrigation system. Ensure all sections work properly and no water leaks from any connections. If the system is tight and works according to design, begin burial.
Step 2: Pipe and Cable Burial
Fill excavations with soil, thoroughly compacting it to prevent future ground settling. Soil in excavations should be cleaned of stones and other contamination that could damage pipes or cables. Pipes must be completely covered with top soil layer evenly distributed. For sustainable water management, consider combining with rainwater collection system integration.
Step 3: Valve Box Protection
The valve box should be evenly covered with soil while compacting it from each side to prevent shifting or deformation. In lawns, the box should be level with ground surface, and in beds, protrude 2-3 cm (1 inch) above ground.
Step 4: Sprinkler Positioning
After burying pipes, position sprinklers in final locations, ensuring they're mounted evenly without deviations and at appropriate height. Around each sprinkler, firmly compact soil for stable positioning.
Step 5: Site Raking and Leveling
After completing burial, rake the area to remove irregularities and restore garden's aesthetic appearance. If soil was previously lawn, begin grass renovation or new seeding. Irrigation burial completes the main installation stage.
Finishing Work
Finishing work includes controller installation and precise sprinkler adjustment. This ensures the system provides plants with appropriate water amounts, supporting healthy garden development.
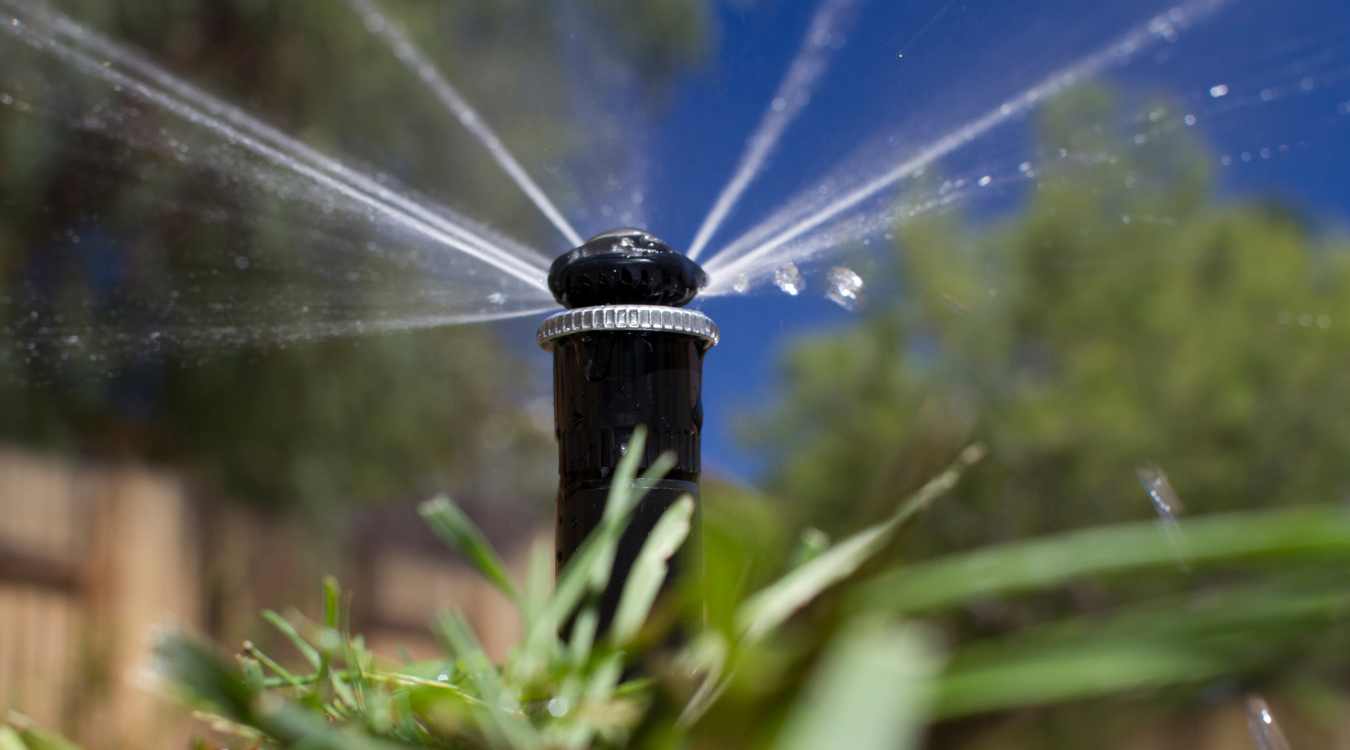
Step 1: Nozzle Installation in Sprinklers
Install appropriate nozzles in mounted sprinklers according to the design. It's important their range matches the size and shape of the watered area. Adjust each nozzle, ensuring optimal area coverage without water waste. Use our water usage calculator to optimize consumption based on coverage patterns.
Step 2: Valve Box Wiring Connection
Connect all control and power cables in the valve box. Connections must be solid, moisture-protected, and comply with technical documentation.
Step 3: Controller Installation - System Control Computer
Next, install the irrigation system control computer. Connect the device to power and control cables, then program the watering schedule – set irrigation duration for each section and system activation times. There's possibility of internal or external controller installation for residential garden irrigation kits.
Step 4: System Operation Testing
After completing installation, start the entire system and conduct tests. Check proper operation of each section, including:
- Do sprinklers work according to programmed schedule?
- Do all nozzles work properly and evenly water designated areas?
- Do sensors like rain sensors respond appropriately to weather conditions?
Step 5: Final Adjustments
If tests reveal any problems, make necessary corrections. This is the last opportunity to ensure the system works perfectly before completing work.
After finishing work completion, proceed to drip line installation stage – an ideal solution for bed and plant irrigation.
Drip Line Installation – Plant Drip Irrigation System
Drip lines are an excellent solution for garden bed and plant irrigation. A drip irrigation system delivers water directly to roots, efficiently caring for plants.
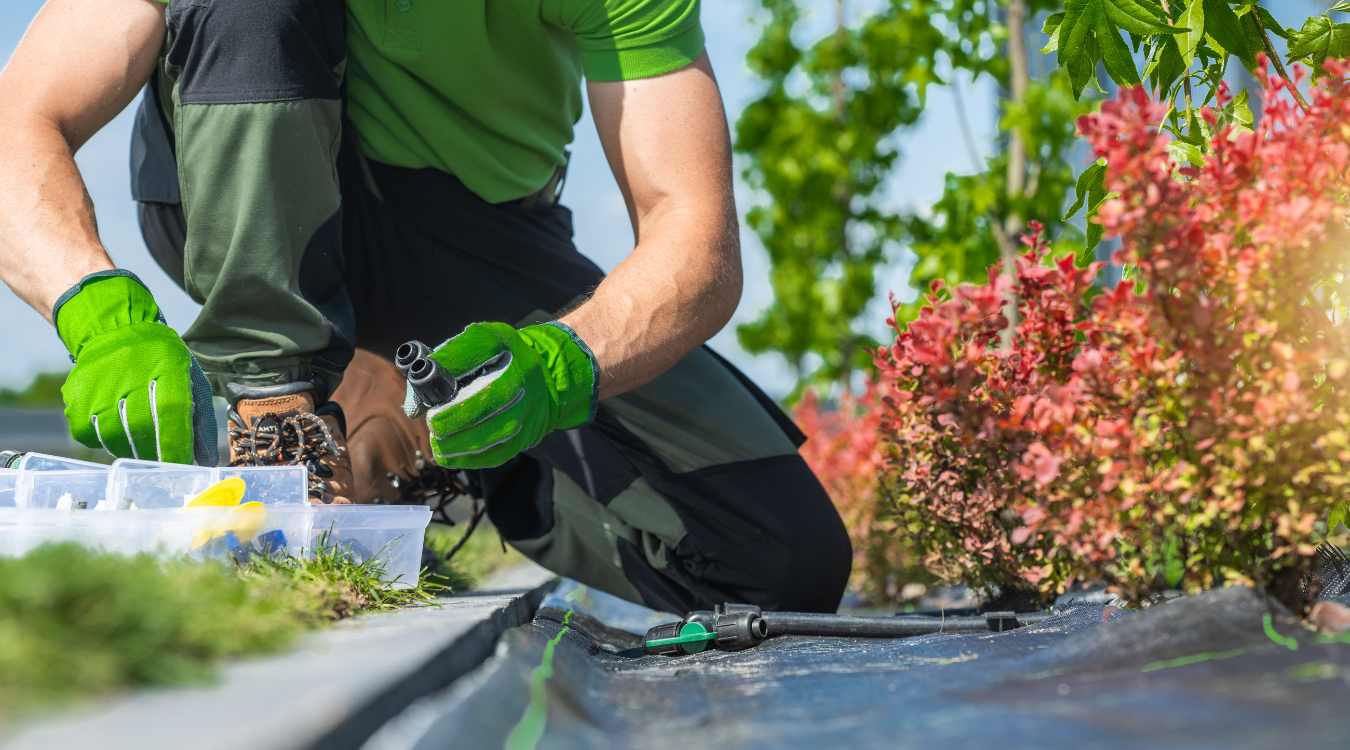
Step 1: Bed Preparation for Installation
Drip lines are most often installed on beds with completed plantings or before laying mulch such as bark or gravel. Bed surface should be level with plants well-spaced so drip lines can efficiently deliver water to their roots.
Step 2: Drip Line Placement
Place drip lines close to plants, no more than 10-15 cm (4-6 inches) from their base. Secure tubes to substrate using special anchors that ensure stability and prevent line movement during watering. For comprehensive drip irrigation system design, consider flow rates and pressure requirements.
Step 3: Irrigation System Connection
Each drip line must connect to the main irrigation system. Make connections using appropriate fittings, ensuring they're tight and comply with design. For large beds, divide lines into sections to ensure even pressure throughout the system. When designing hedging plants irrigation, space emitters according to root spread.
Step 4: Drip Line Operation Testing
After installation, start drip lines to check their operation. Water should exit evenly from each dripper, delivering moisture exactly where needed. Immediately remove any leaks or blockages.
Step 5: Bed Work Finalization
After testing and ensuring drip lines work properly, cover beds with bark, gravel, or other decorative material. This protects lines from mechanical damage and improves garden aesthetics.
This stage completes the irrigation system installation process. Your garden is now ready for appropriate and efficient watering!
Key Tips for Automatic Irrigation System Installation
DIY sprinkler system installation requires attention to component cleanliness and connection tightness. Properly installed systems ensure durability and reliable operation for years.
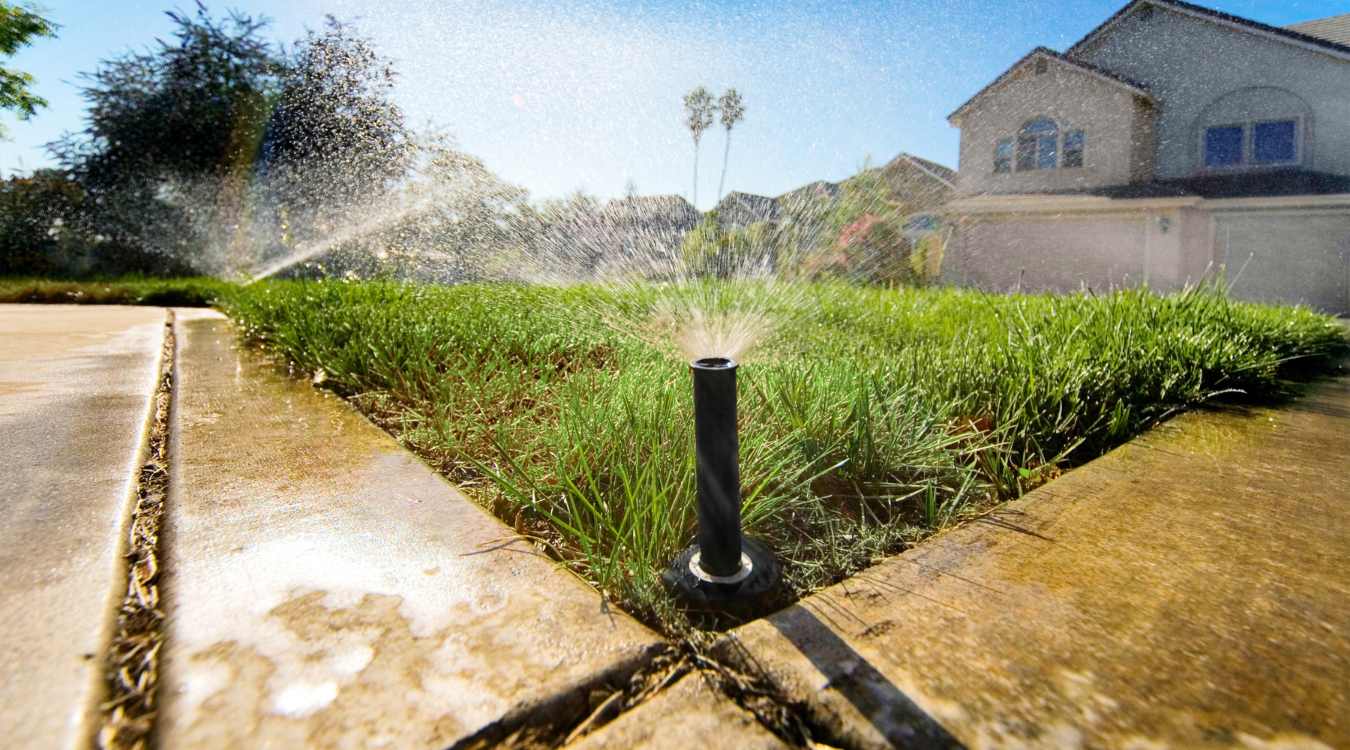
Excavations – Every System's Foundation
Excavation Depth: Excavations for water supply pipes to sprinklers must be 25-30 cm (10-12 inches) deep to ensure appropriate protection from mechanical damage and weather conditions. The main excavation containing the main line should be slightly deeper – 30-40 cm (12-16 inches) – depending on pipe diameter. Importantly, the highest pipe should be at least 25 cm (10 inches) below ground surface.
Excavation Evenness and Stability: Ensure excavations are even and stable with properly compacted bottoms. This prevents soil settling after work completion and guarantees installation durability.
Pipe and Fitting Installation
- Component Cleanliness: Before installation, all pipes and fittings must be free from contamination such as sand or soil. Contamination can cause leaks or system damage.
- Precise Cutting and Installation: Cut pipes evenly without crushing their ends. Lightly sharpen cut ends to facilitate fitting installation. Push pipes completely in to ensure connection tightness.
Sprinkler Placement
- Installation Precision: Position sprinklers according to design. After laying each section, check plan compliance to avoid later problems with even irrigation.
- Stable Positioning: Install sprinklers vertically, 2-3 cm (1 inch) from bed edges, curbs, or borders. Position them on firmly compacted soil to prevent movement during operation.
Valve Box – Control Center
Proper Installation: On beds, boxes should protrude 2-3 cm (1 inch) above ground surface, and in lawns be level with ground. Position according to terrain level or slope to enable easy access and trouble-free operation.
Final System Check
- Tightness and Completeness: Before burying all elements, check system tightness. No water should leak from any connection, fitting, or elbow.
- Soil Compaction: After burying excavations, soil must be properly compacted to prevent ground settling under feet or mower wheels.
Durability and Aesthetics Care
Proper installation and precision at every stage ensure not only system durability but also its aesthetic garden appearance. Remember that a well-installed irrigation system is an investment that works trouble-free for years. For comprehensive garden planning that incorporates irrigation from the start, explore our modern garden design approaches.
Transform Your Garden with Professional Installation Excellence
Installing a sprinkler system yourself can save thousands while creating a perfectly watered landscape. With proper planning, quality components, and attention to detail, your DIY irrigation system will provide decades of reliable service and beautiful garden results. Ready to tackle this rewarding project with expert guidance?
Get a professional garden design consultation and discover how expert planning can bring your automated irrigation vision to life.

FAQ
Rain Bird vs Hunter – Which Should You Choose?
Rain Bird and Hunter are two leading brands offering comprehensive garden irrigation solutions. Each brand's automatic irrigation kit features high quality, with choice depending mainly on individual installer needs and preferences. We as a company have always used Hunter's MP Rotator sprinklers for their reliability and efficiency.
How Much Does Watering Cost Per Square Meter?
Garden watering cost depends on water consumption and source, such as municipal water supply. Using pop-up sprinklers ensures precise irrigation, reducing water waste and optimizing costs based on coverage area.
Mains Water, Well, or Tank – Which Solution for Your Garden?
Choice between mains water, deep well, or tank depends on site conditions and user preferences. Lawn irrigation systems work excellently with any of these sources. Calculate deep well payback time to make the right decision. For detailed analysis, explore our landscape design examples showcasing different water source solutions.
How Much Does Garden Irrigation Installation Cost?
Irrigation installation cost depends on area size and chosen system. DIY irrigation kits and ready garden irrigation systems are economical options for those wanting to install systems themselves, potentially saving thousands on professional installation. For comprehensive cost planning, consult with a landscape architecture company to evaluate your specific needs.
How Deep to Dig for Irrigation?
When planning irrigation excavations, consider depth to protect installation from damage. Valves and pipes should be placed at least 25-30 cm (10-12 inches) underground. Find depth details in your controller installation manual. For comprehensive planning guidance, see our garden design guide covering installation best practices.
How Much Water for 1000 m² Lawn?
A 1000 m² (10,760 sq ft) lawn needs approximately 20-30 m³ (5,300-7,900 gallons) of water monthly, depending on climate. Proper lawn irrigation can be ensured with optimal system pressure and efficiency.
How Many Sprinklers for 500 m²?
For 500 m² (5,380 sq ft), you need 20-40 sprinklers depending on type and range. In such cases, plan approximately 8 zones to ensure even irrigation and avoid excessive water consumption. Choose automatic systems to significantly simplify installation. For professional project evaluation, get a landscape design cost assessment.
What Pressure to Blow Out Irrigation?
System winterization requires appropriate equipment and knowledge of pressure and system efficiency. For most residential systems, a small or medium compressor with 5-7 bar (72-101 psi) pressure is sufficient. Don't significantly exceed this pressure as it may damage the irrigation system.

Wojciech Kazimierowicz – Author of the Article
Co-owner of Wytwórnia Zieleni and an expert in garden design and landscaping with over 13 years of experience. He specializes in creating modern, functional green spaces tailored to the budget and needs of homeowners.

Find Out How Much Your Garden Design Will Cost!
Take a quick quiz and discover the estimated cost of a custom garden design tailored to your needs. No strings attached – it takes just 2 minutes!


Wytwórnia Zieleni | Garden Design
KRS 0001107384 NIP 6452587627 REGON 528715049 St. Strzelców Bytomskich 51/1 42-600 Tarnowskie Gory, Poland
Resources
© Wytwórnia Zieleni 2026


